Installing Z-Uno environment for Arduino IDE
Z-Uno environment uses Arduino IDE with additional specific package for Z-Uno board. This environment allows you to create your own projects and load them in Z-Uno via USB. It also contains various examples to start with.
Steps to get started with Z-Uno:
- Download Arduino IDE from https://www.arduino.cc/en/Main/Software (section Download the Arduino IDE)
- Install Arduino IDE
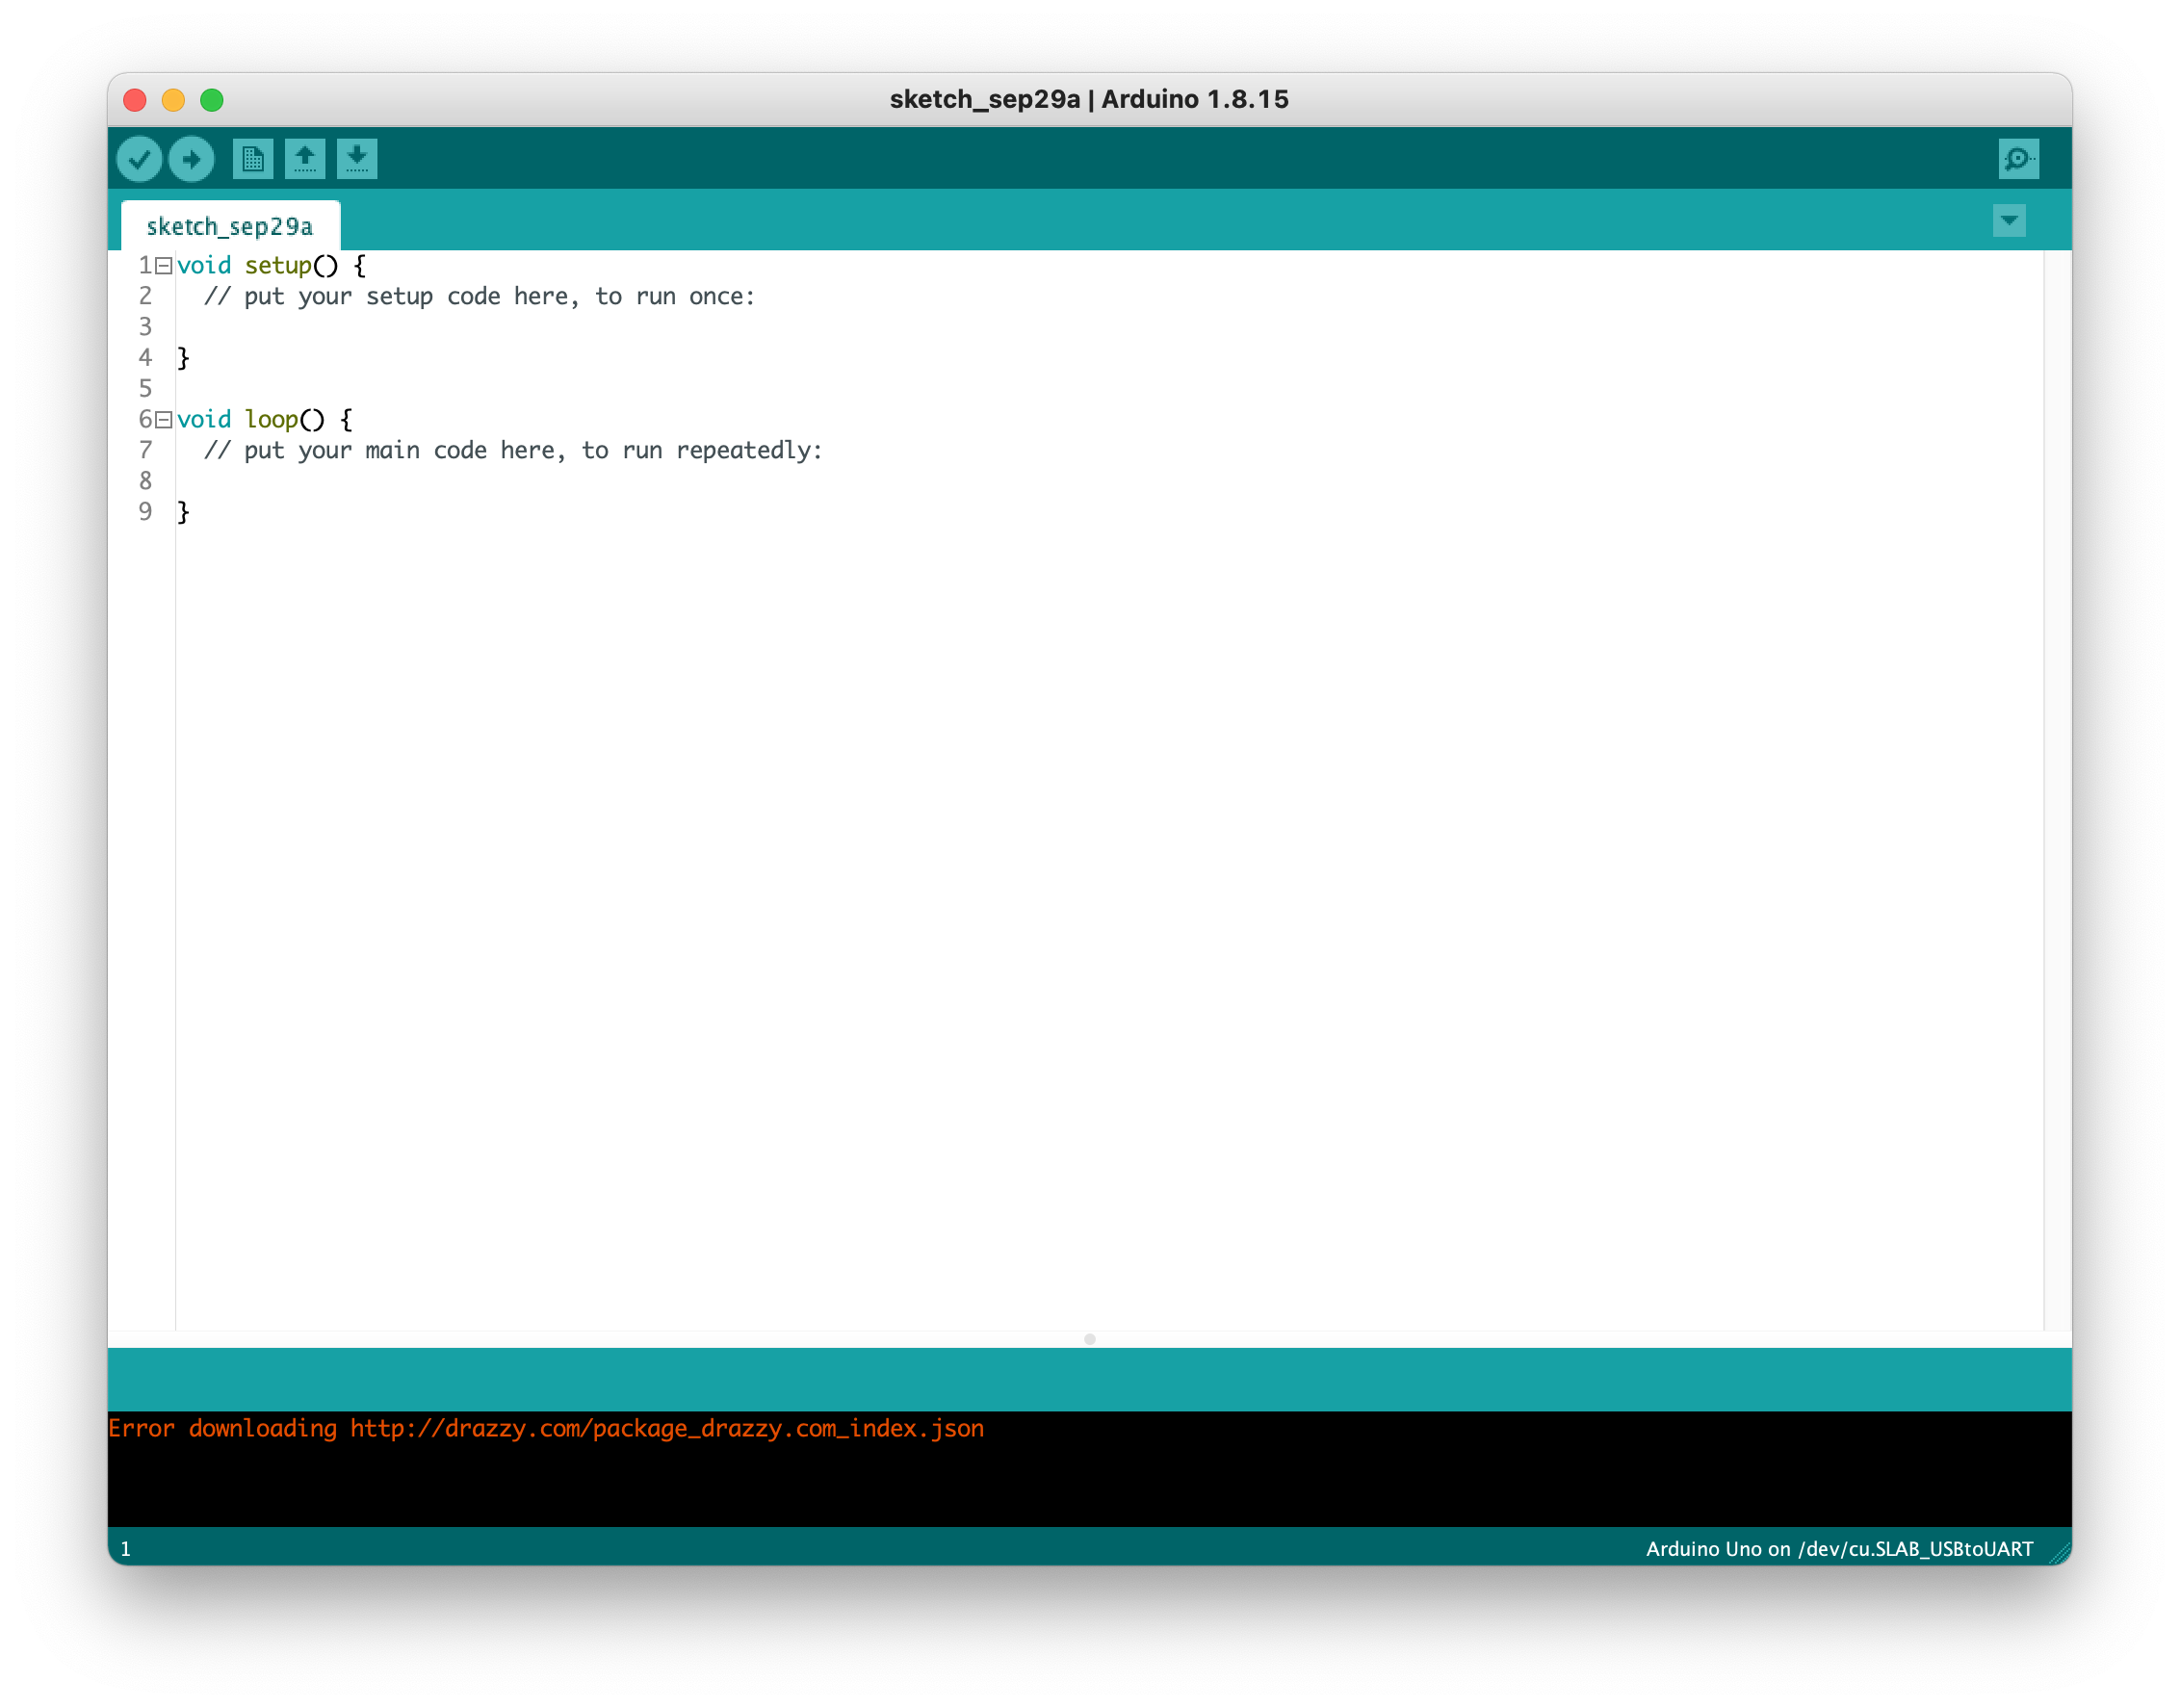
- Launch Arduino IDE
- Open Arduino Preferences. In the field "Additional Boards Manager URLs" put: http://z-uno.z-wave.me/files/z-uno/package_z-wave.me_index.json and press OK
- Go to Tools → Board → Boards manager. Scroll down, you should see a package "Z-Uno by Z-WAVE>ME". Install it
- Restart Arduino IDE
- Now select "Z-Wave>ME Z-Uno" in Tools → Board
- And "Z-Uno Programmer" in Tools → Programmer section.
- Windows users (prior to Windows 10) should install Z-Uno Driver. See driver installation instructions. OSX and Linux users don't need to worry, the driver is already installed in the system
- Now you should see "Z-WAVE>ME Z-Uno" in Tools → Port section. Select it
- Press Tools → Burn Bootloader. This will update your Z-Uno software to the latest stable version. This can take some time. You can see it’s working if Service LED blinks
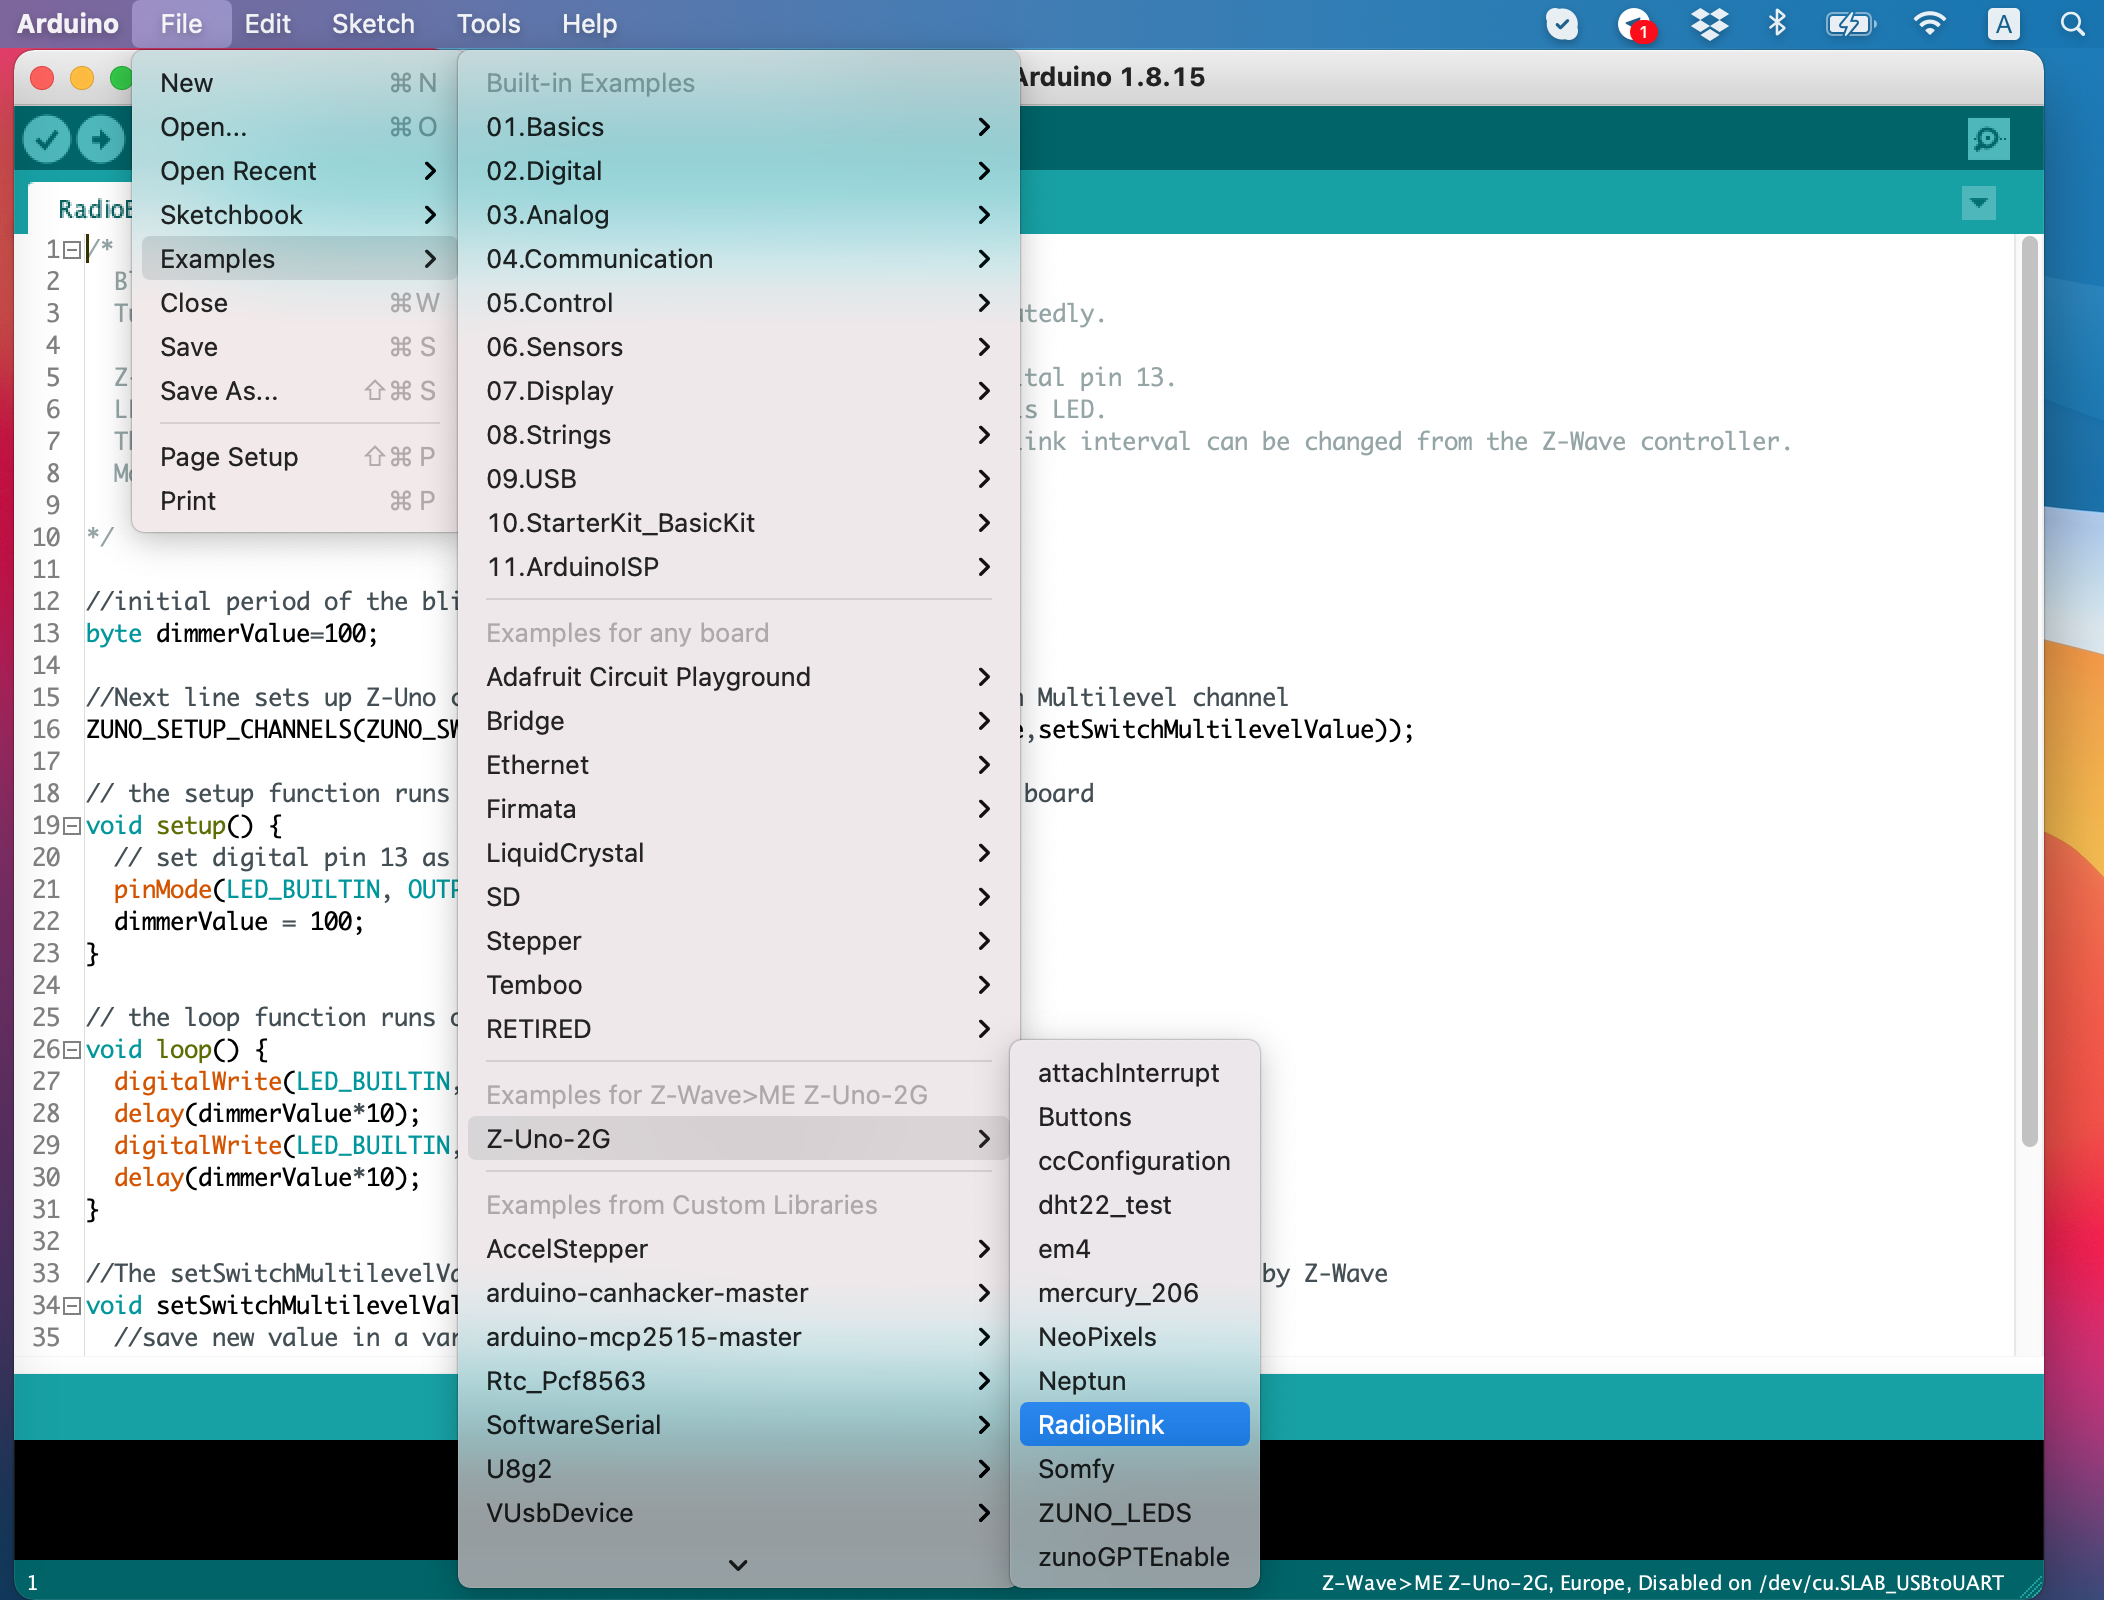
- Now all done to upload example Blink sketch. Go to File → Examples → 01. Basics → Blink. Upload it
- More examples are available in File → Examples → Z-Uno
1. Download Arduino IDE from https://www.arduino.cc/en/Main/Software (section Download the Arduino IDE).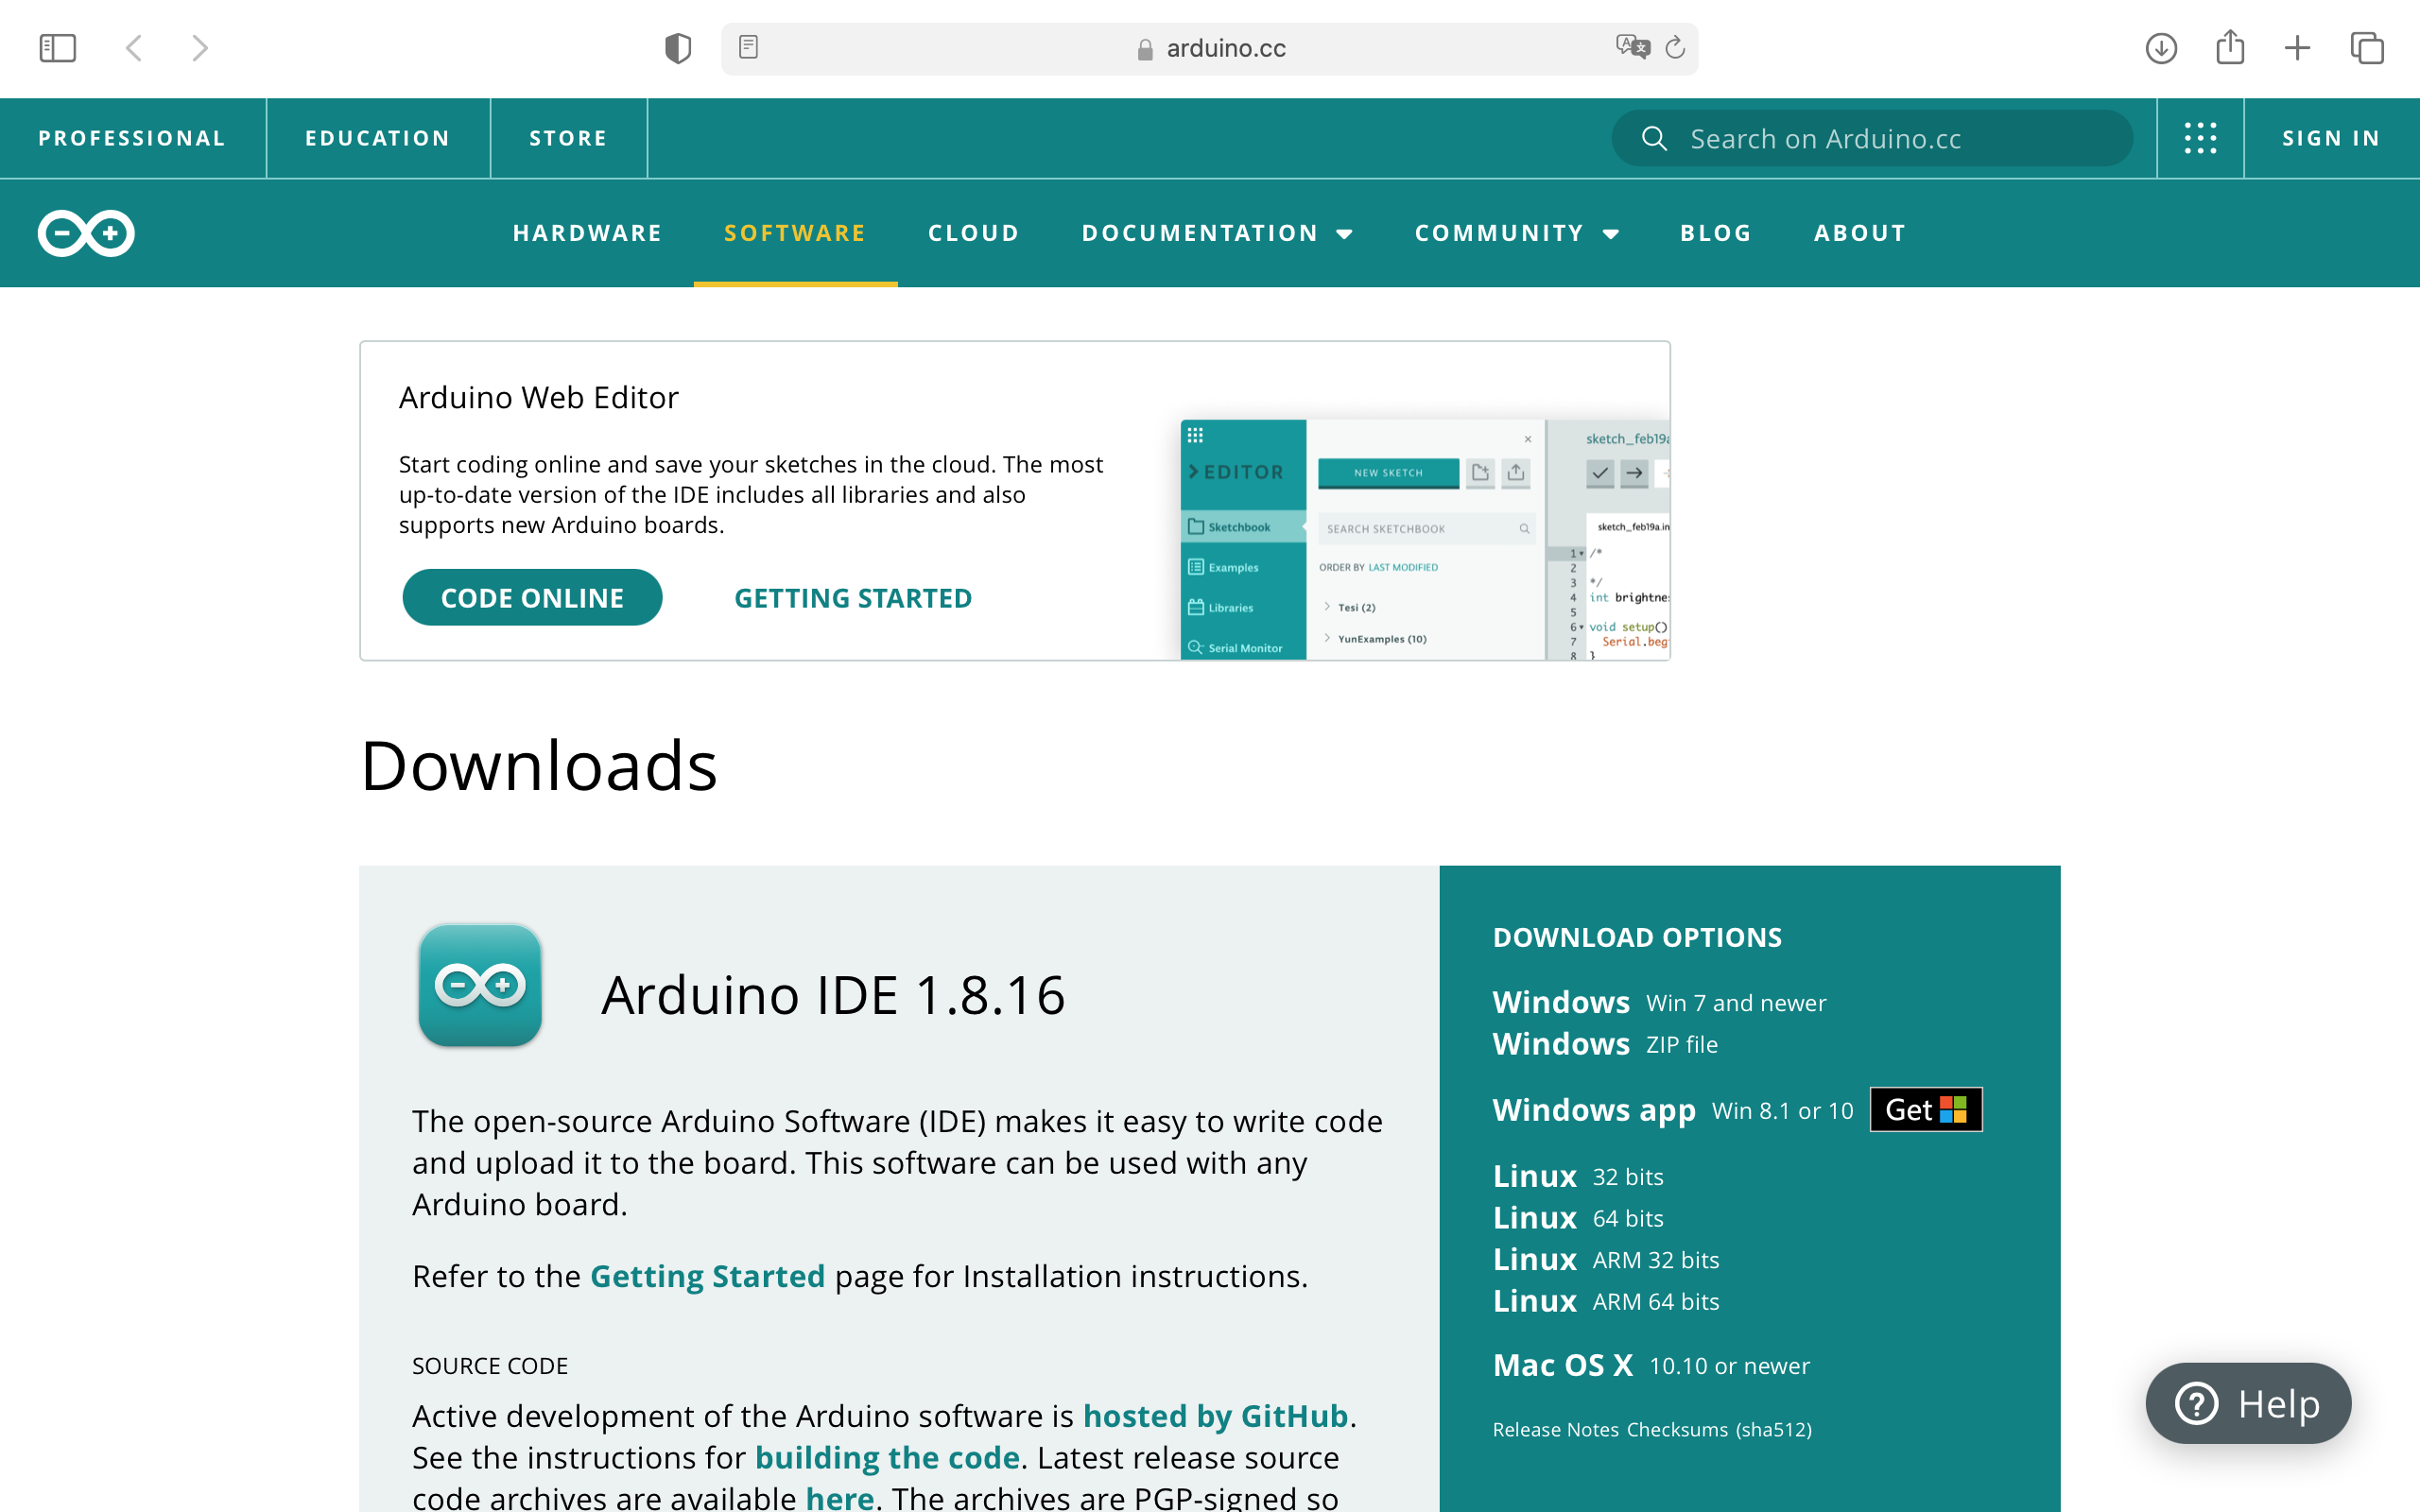
2. Install Arduino IDE
3. Launch Arduino IDE
4. Open Arduino Preferences. In the field "Additional Boards Manager URLs" put:
https://z-uno.z-wave.me/files/z-uno2/package_z-wave2.me_index.json
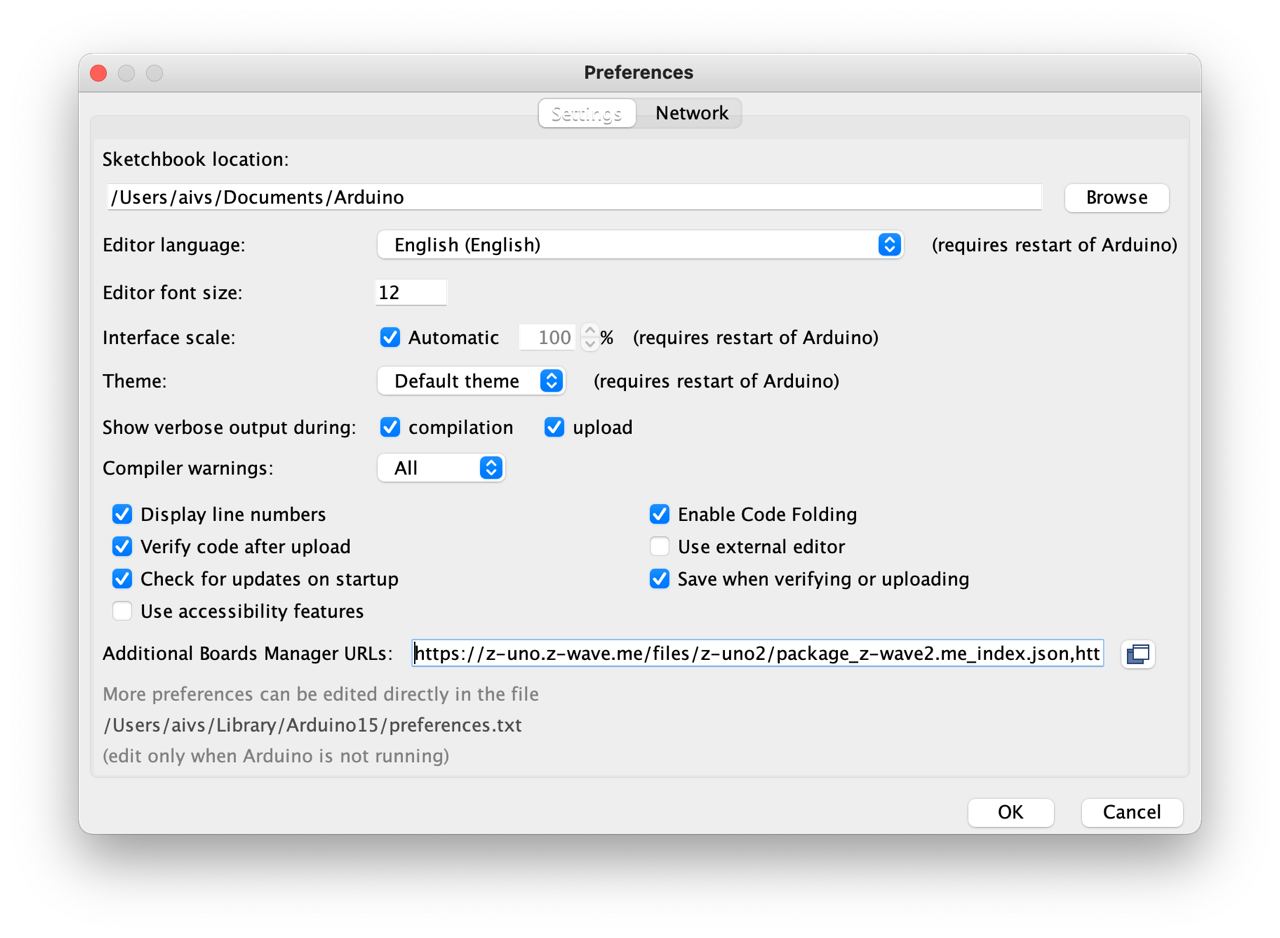
Also you can add a beta repository after a comma:
https://z-uno.z-wave.me/files/z-uno2/package_z-wave2.me_beta_index.json
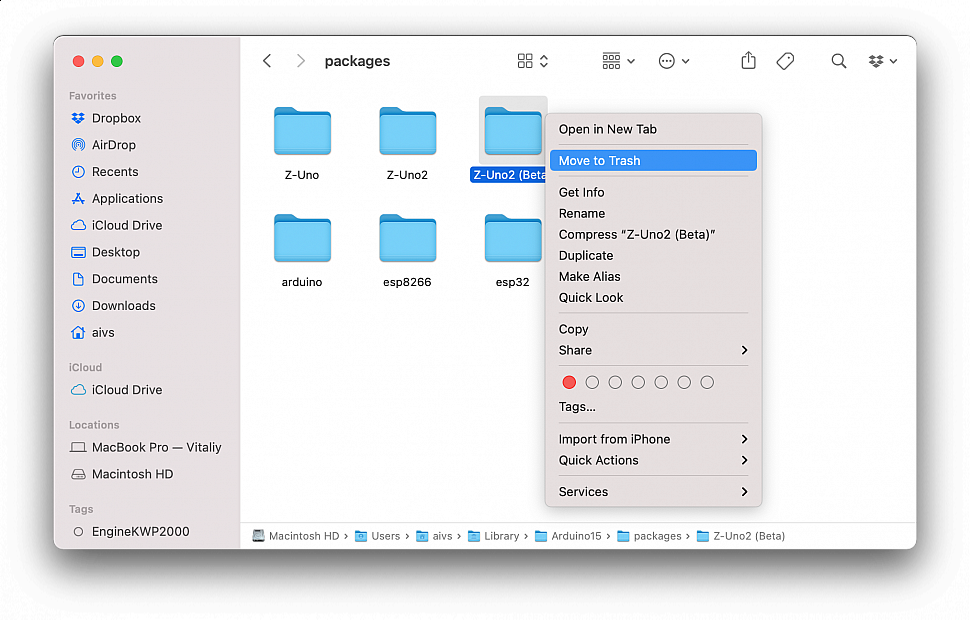
The beta version contains the newest features, but they may not be stable. You install it at your own risk. Each time you install the beta version, you need to delete the previous beta files manually from ~/Library/Arduino15.
5. Go to Tools → Board → Boards manager.
Scroll down, you should see a package "Z-Uno2 by Z-WAVE>ME" or/and "Z-Uno2 (Beta) by Z-WAVE>ME". Install it.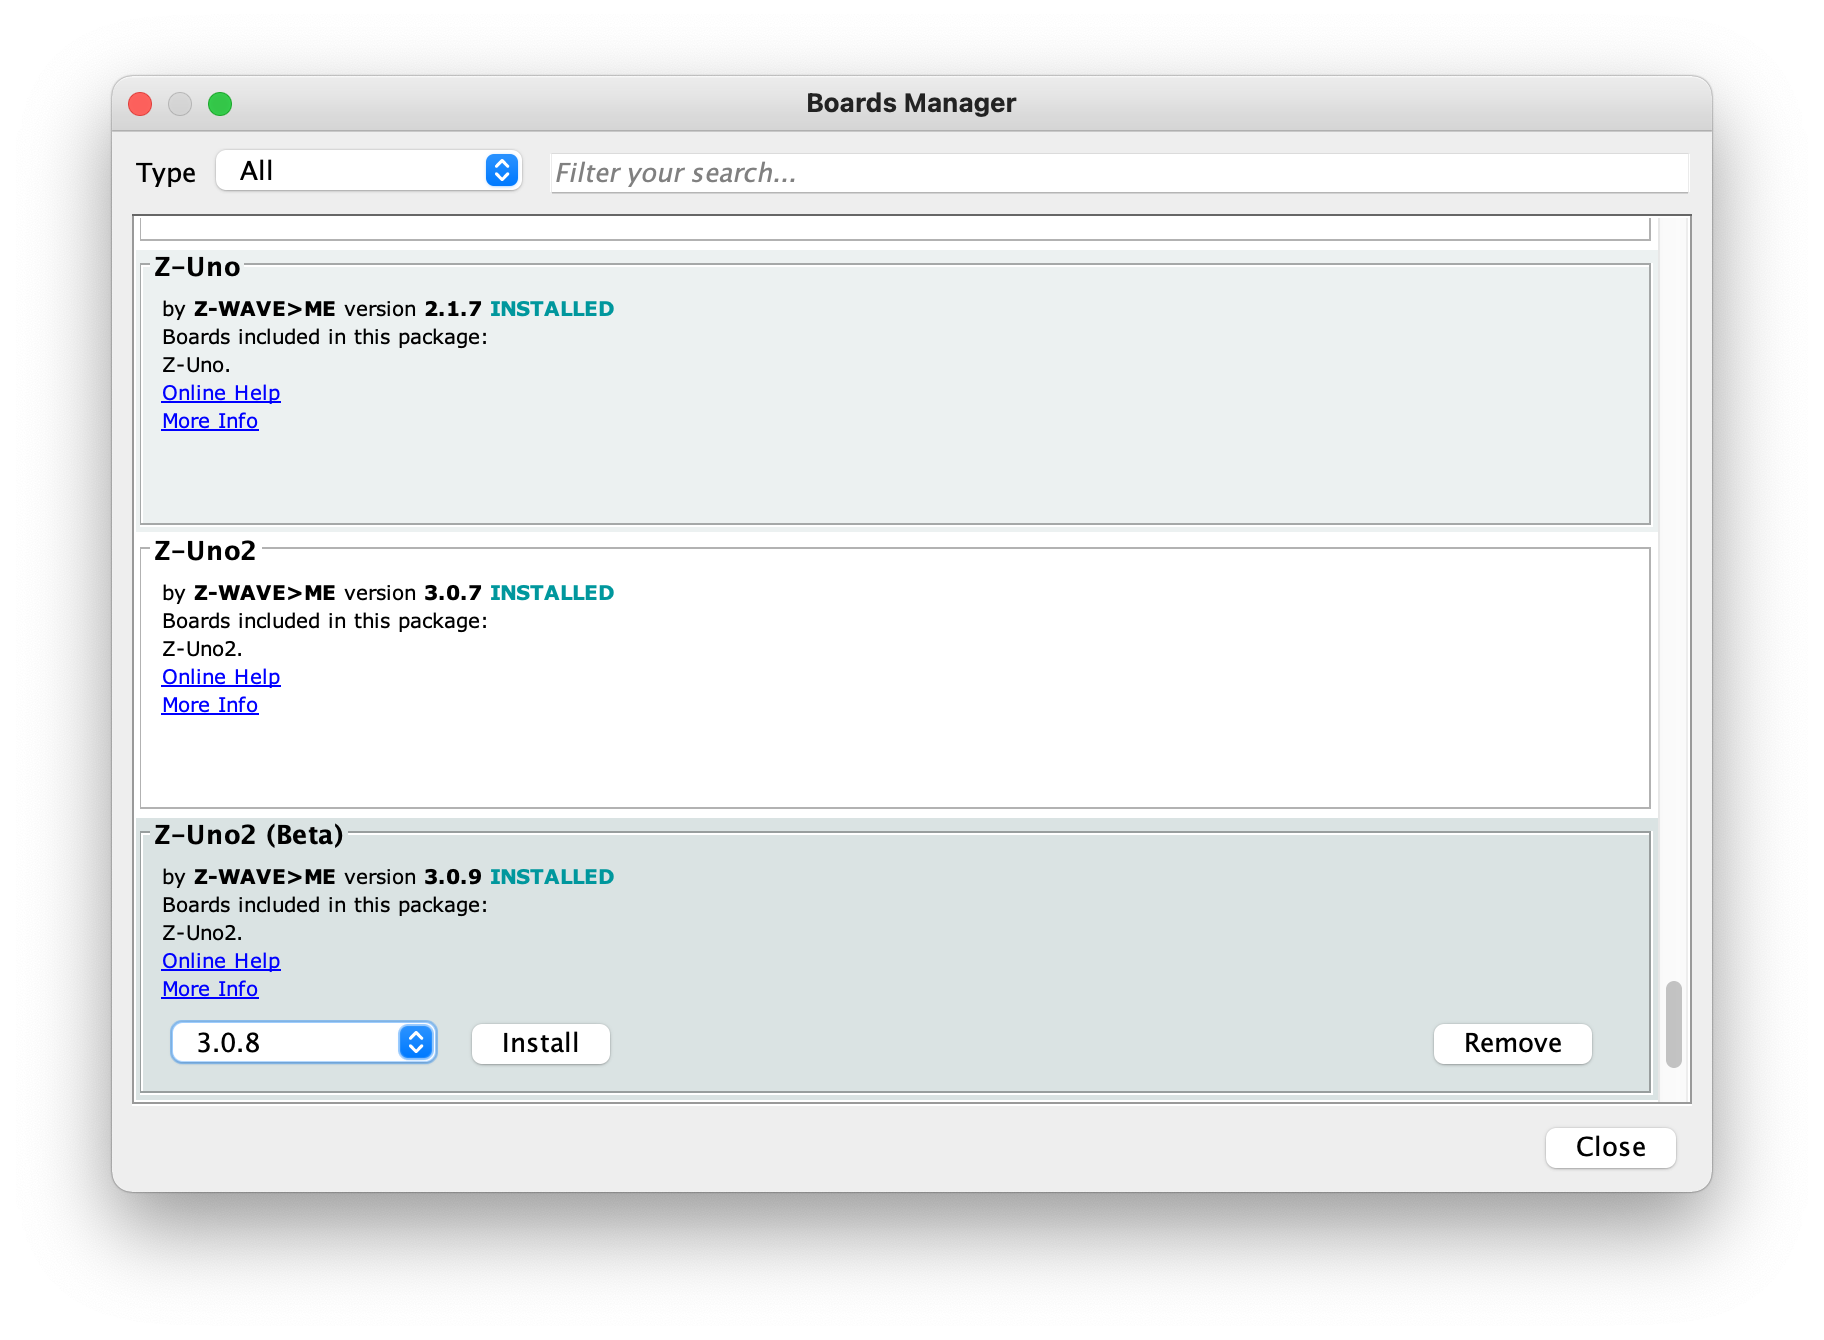
6. Restart Arduino IDE
7. Now select "Z-Wave>ME Z-Uno2" or "Z-Wave>ME Z-Uno2 Beta" in Tools → Board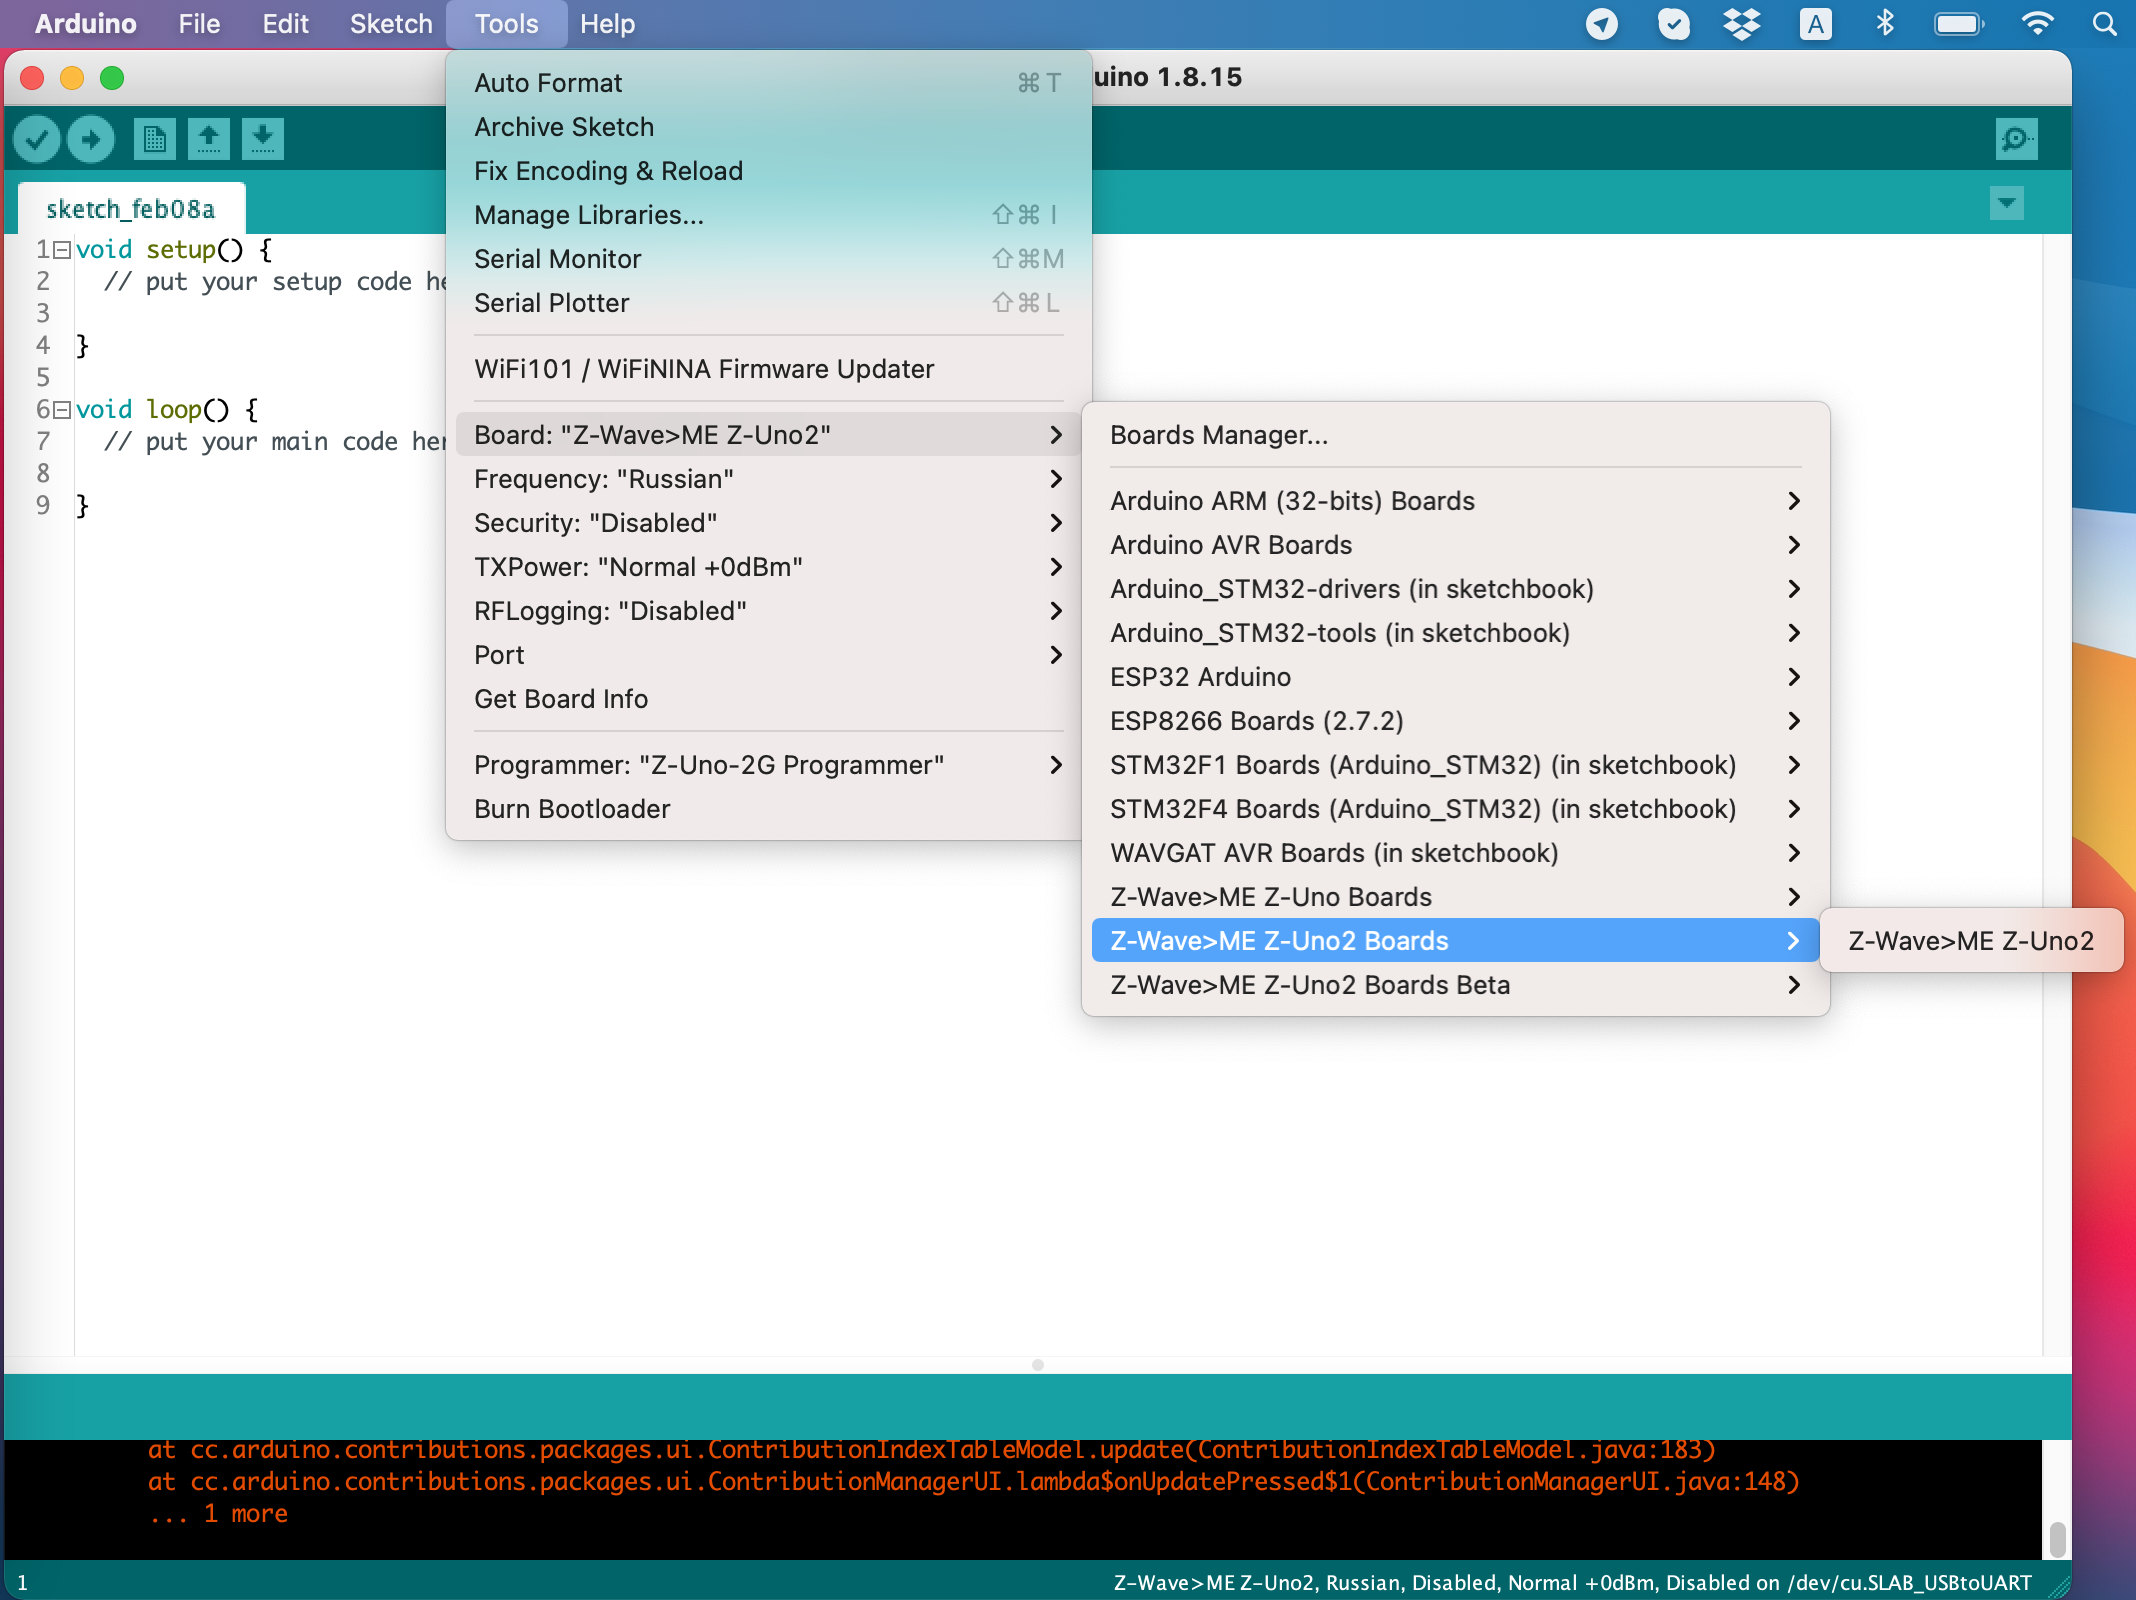
8. And "Z-Uno2 Programmer" in Tools → Programmer section.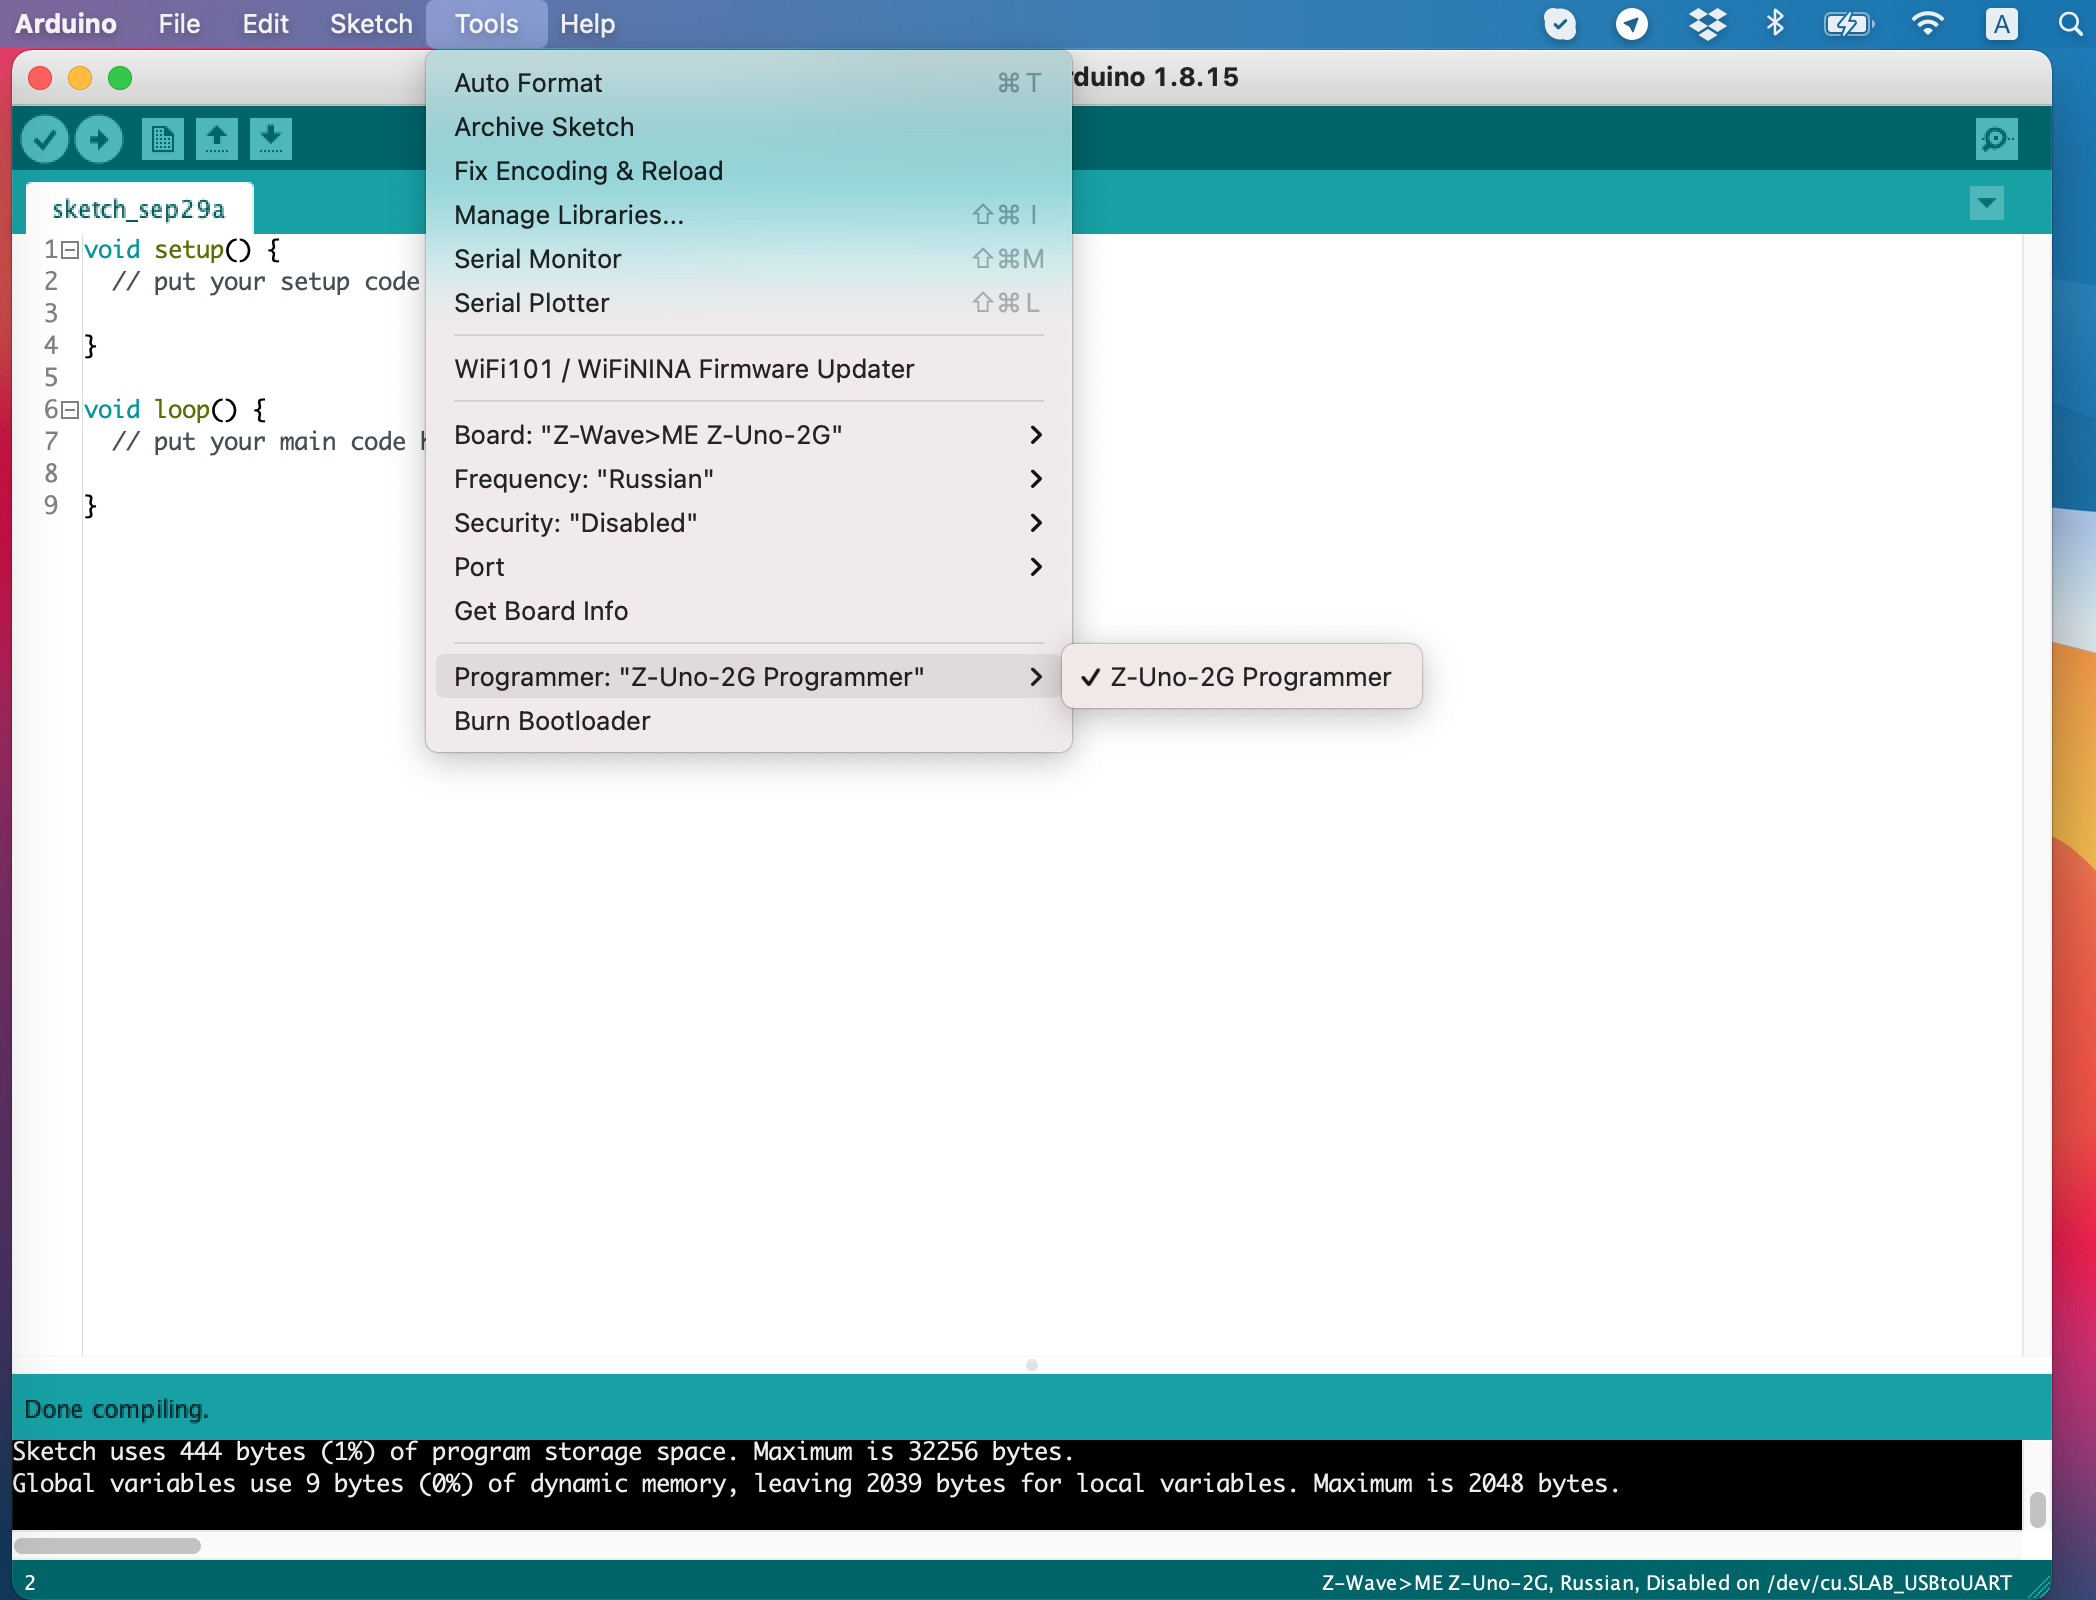
9. Windows users (prior to Windows 10) should install Z-Uno Driver. See the driver installation instructions.
macOS and Linux users don't need to worry, the driver is already installed in the system
10. Now you should see "/dev/cu.SLBA_USBtoUART" in Tools → Port section. Select it.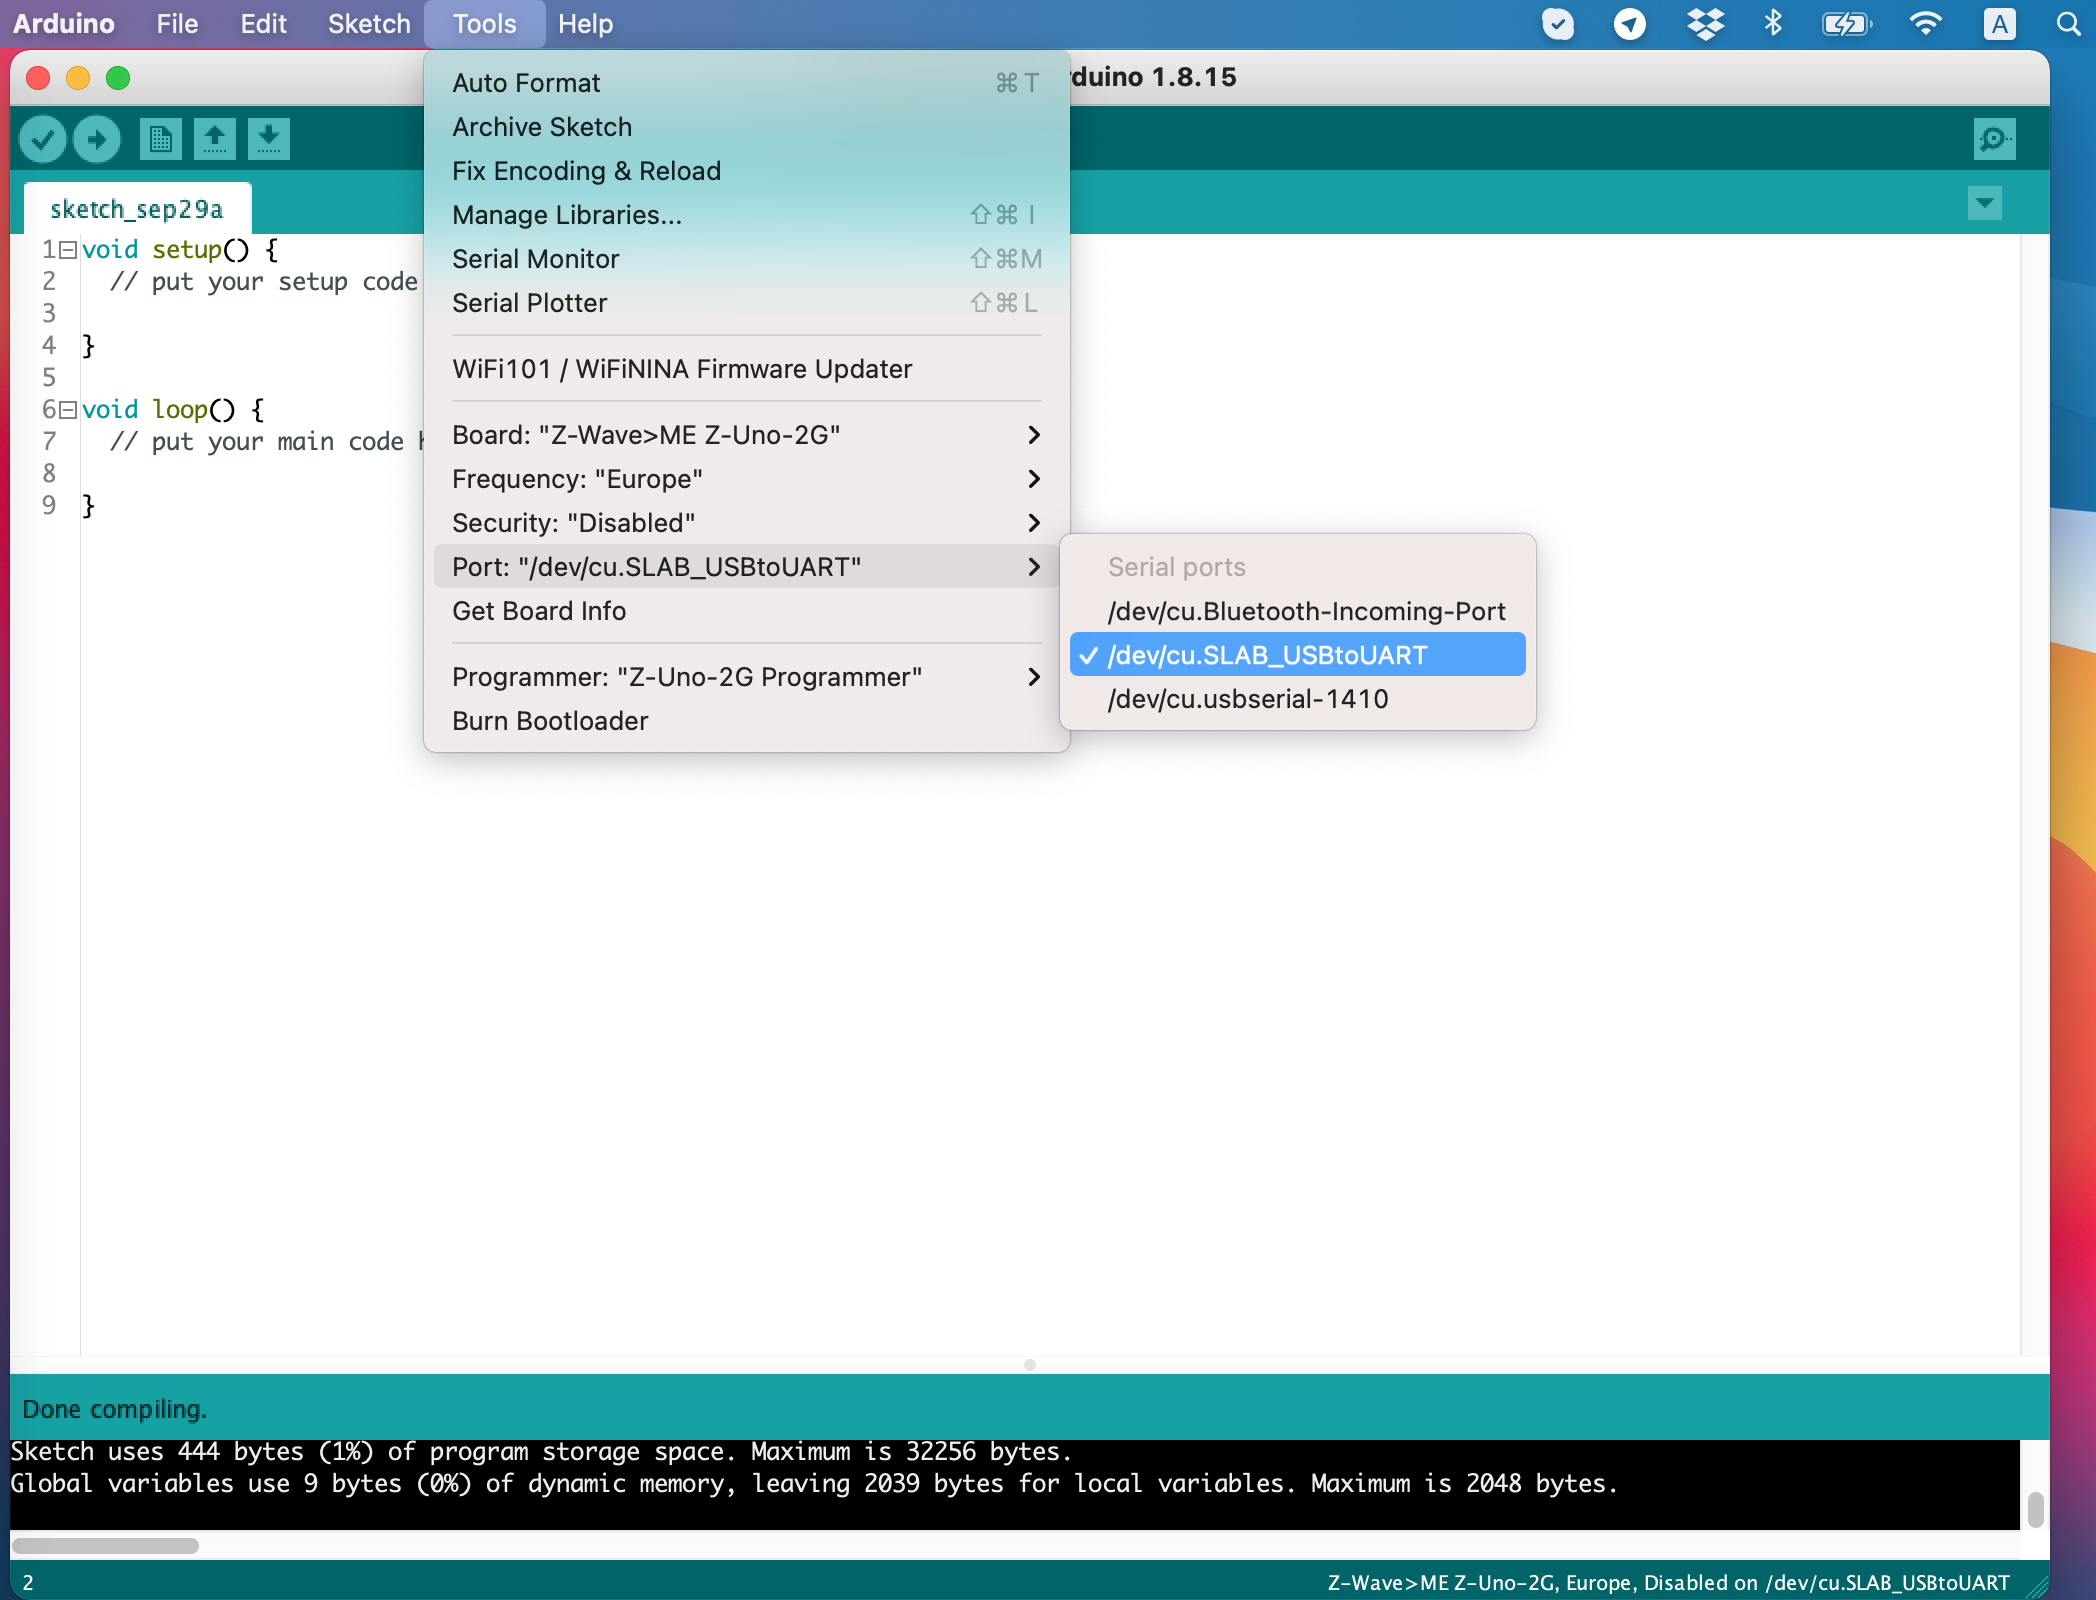
11. Press Tools → Burn Bootloader. This will update your Z-Uno2 software to the latest stable version. This can take some time. You can see it’s working if Service LED blinks.
12. Now all done to upload example RadioBlink sketch. Go to File → Examples → Z-Uno2 → RadioBlink. Upload it